Generating a Simulator Build
You can generate release builds of the monoDrive Simulator from the Scenario Editor that
includes custom code and assets. Builds can be generated for both Windows and Linux
using the Windows Scenario Editor. Custom code can be added to the Simulator under the
VehicleAI_Editor/Source folder, or as Unreal Engine 4 plugins by adding the plugins
to VehicleAI_Editor/Plugins and modifying the VehicleAI.uproject file accordingly.
Custom assets can be imported into the editor using the Unreal Engine asset import
process, or by adding uassets/blueprints to VehicleAI_Editor/Content.
The monoDrive Simulator uses CUDA for certain features. Consequently, in order to build the standalone Simulator from the Scenario Editor, the CUDA SDK must be installed on the system. This version of the Scenario Editor uses Cuda Toolkit 10.2.
Additionally, in order to generate the Linux standalone build from Windows, the Linux
CUDA libraries must be added to the Windows CUDA installation. These libraries are included
in VehicleAI_Editor/ThirdParty/cuda_linux_libraries.zip. This archive should be extracted to
C:/Program Files/NVIDIA GPU Computing Toolkit/CUDA/v10.2.
Finally, the Windows standalone build requires a few DLLs to be included with the build.
These DLLs are included in VehicleAI_Editor/ThirdParty/windows_simulator_dlls.zip. Extract
the contents of this zip file into the directory of the generated release build.
Build Steps
-
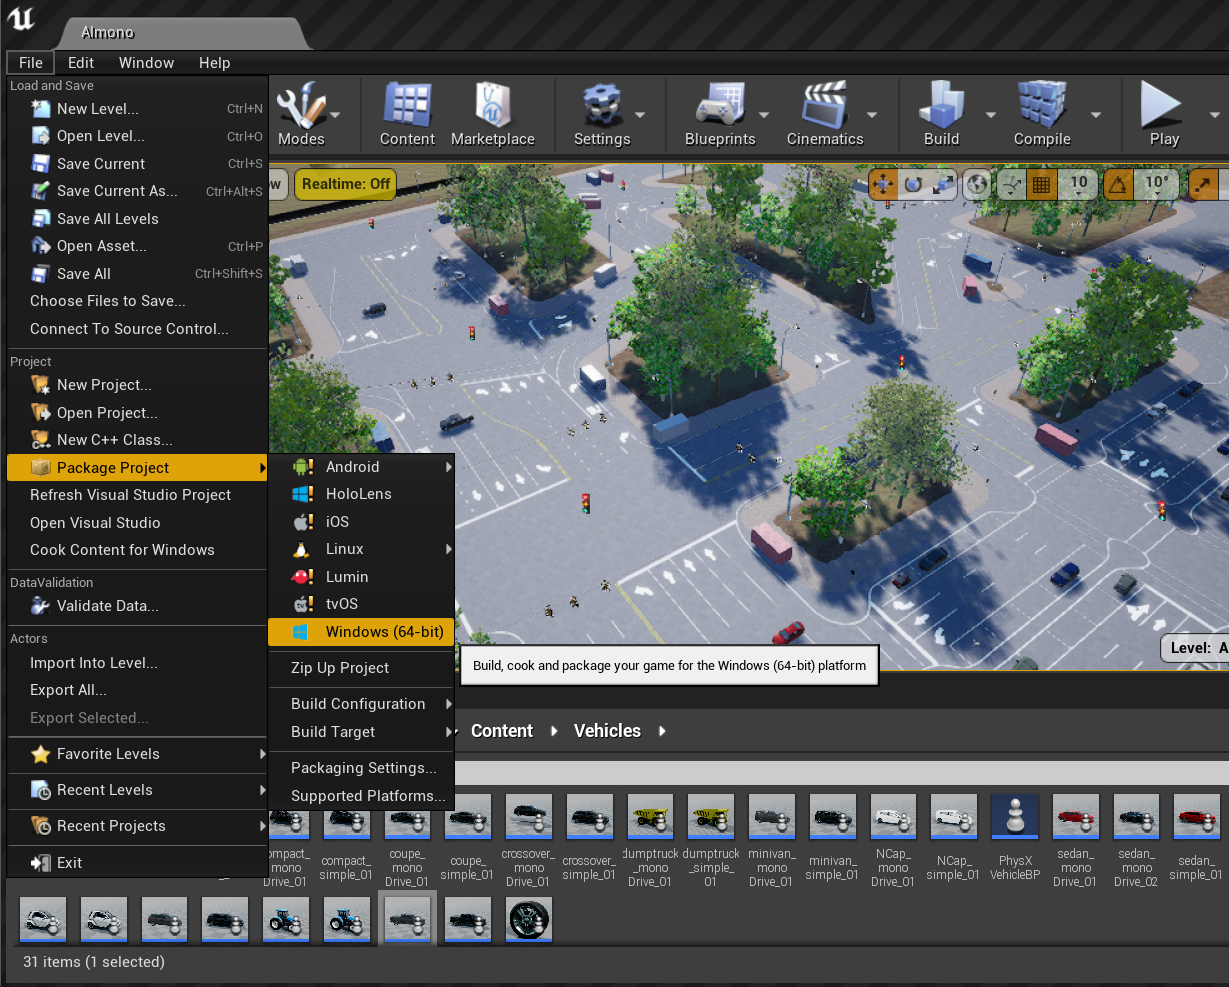
To generate the standalone simulator, open the Scenario Editor and go to
File -> Package Project -> Build Configurationand selectShipping. Then go toFile -> Package Project -> Windows (64 bit)to generate the Windows build, orFile -> Package Project -> Linuxto generate the Linux x64 build.
-
A dialog will prompt you to select a location for generating the build. This folder is where the final
VehicleAI.exeand it's related content/files will be created. -
For the Windows release build, copy the DLLs referenced above into the directory. The DLLs should be in the same directory as
VehicleAI.exe. -
Copy the license.txt file to the generated build directory.