RoadRunner and Unreal Engine Map Setup
The following guide outlines methods for setting up assets in created maps from RoadRunner into Unreal Engine
Importing Assets into Unreal Engine
This section outlines the creation and setup of a Unreal Engine map/scene and may apply to assets other than RoadRunner assets.
-
Open Unreal Engine
- Create a new map
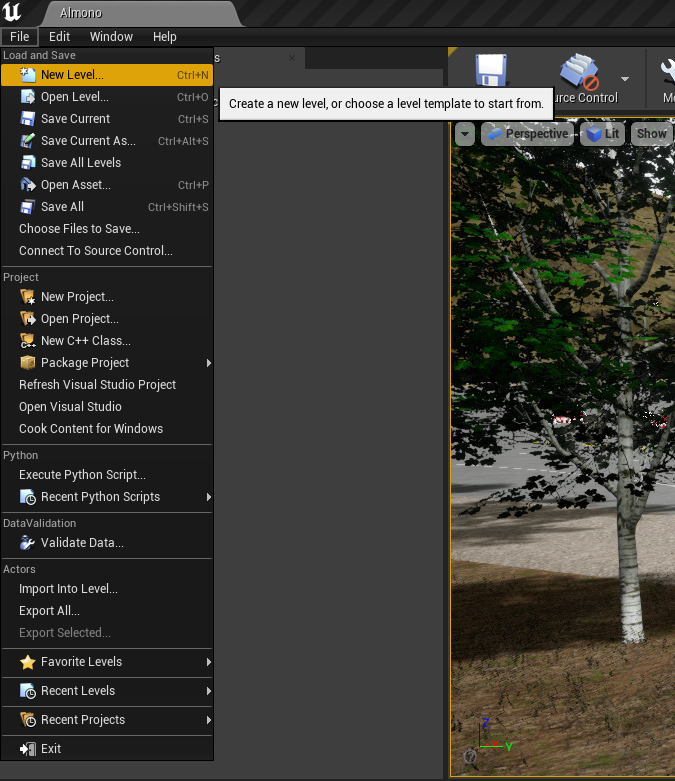
- Create a new map
-
Click on "Default"
-
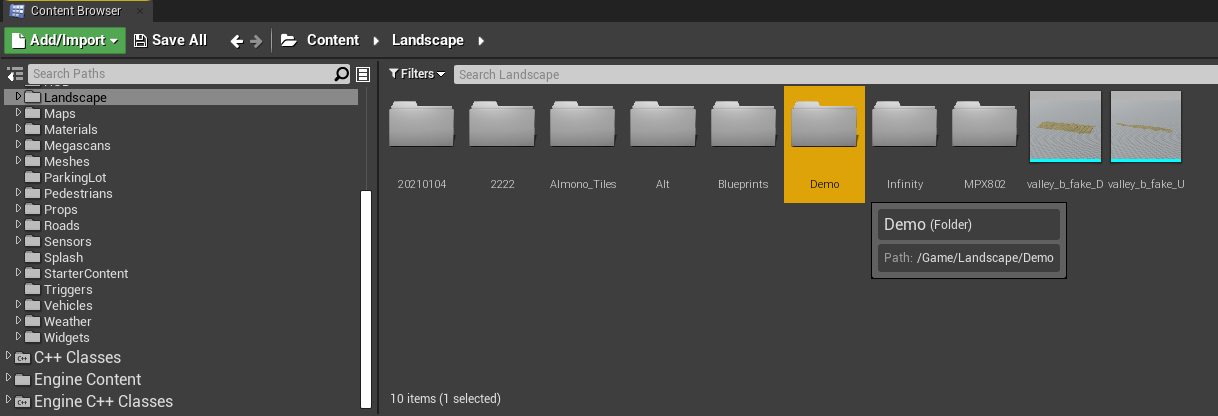
Once the new map is created, go to the "Landscape" folder in the "Content" browser
-
Then click on "Import" and navigate to the RoadRunner .fbx export and open
- An "FBX Import Option" window will open
- Find the "Import Uniform Scale" option
- Type in 100.0
- Click "Import All"
- Click and Drag all assets into the scene
- With all assets selected, go to the "Details" Panel
- In the "Transform" Section, navigate to "Location" which has the values for X,Y,Z. Ensure that X,Y,Z values in the Location each have a value of "0"
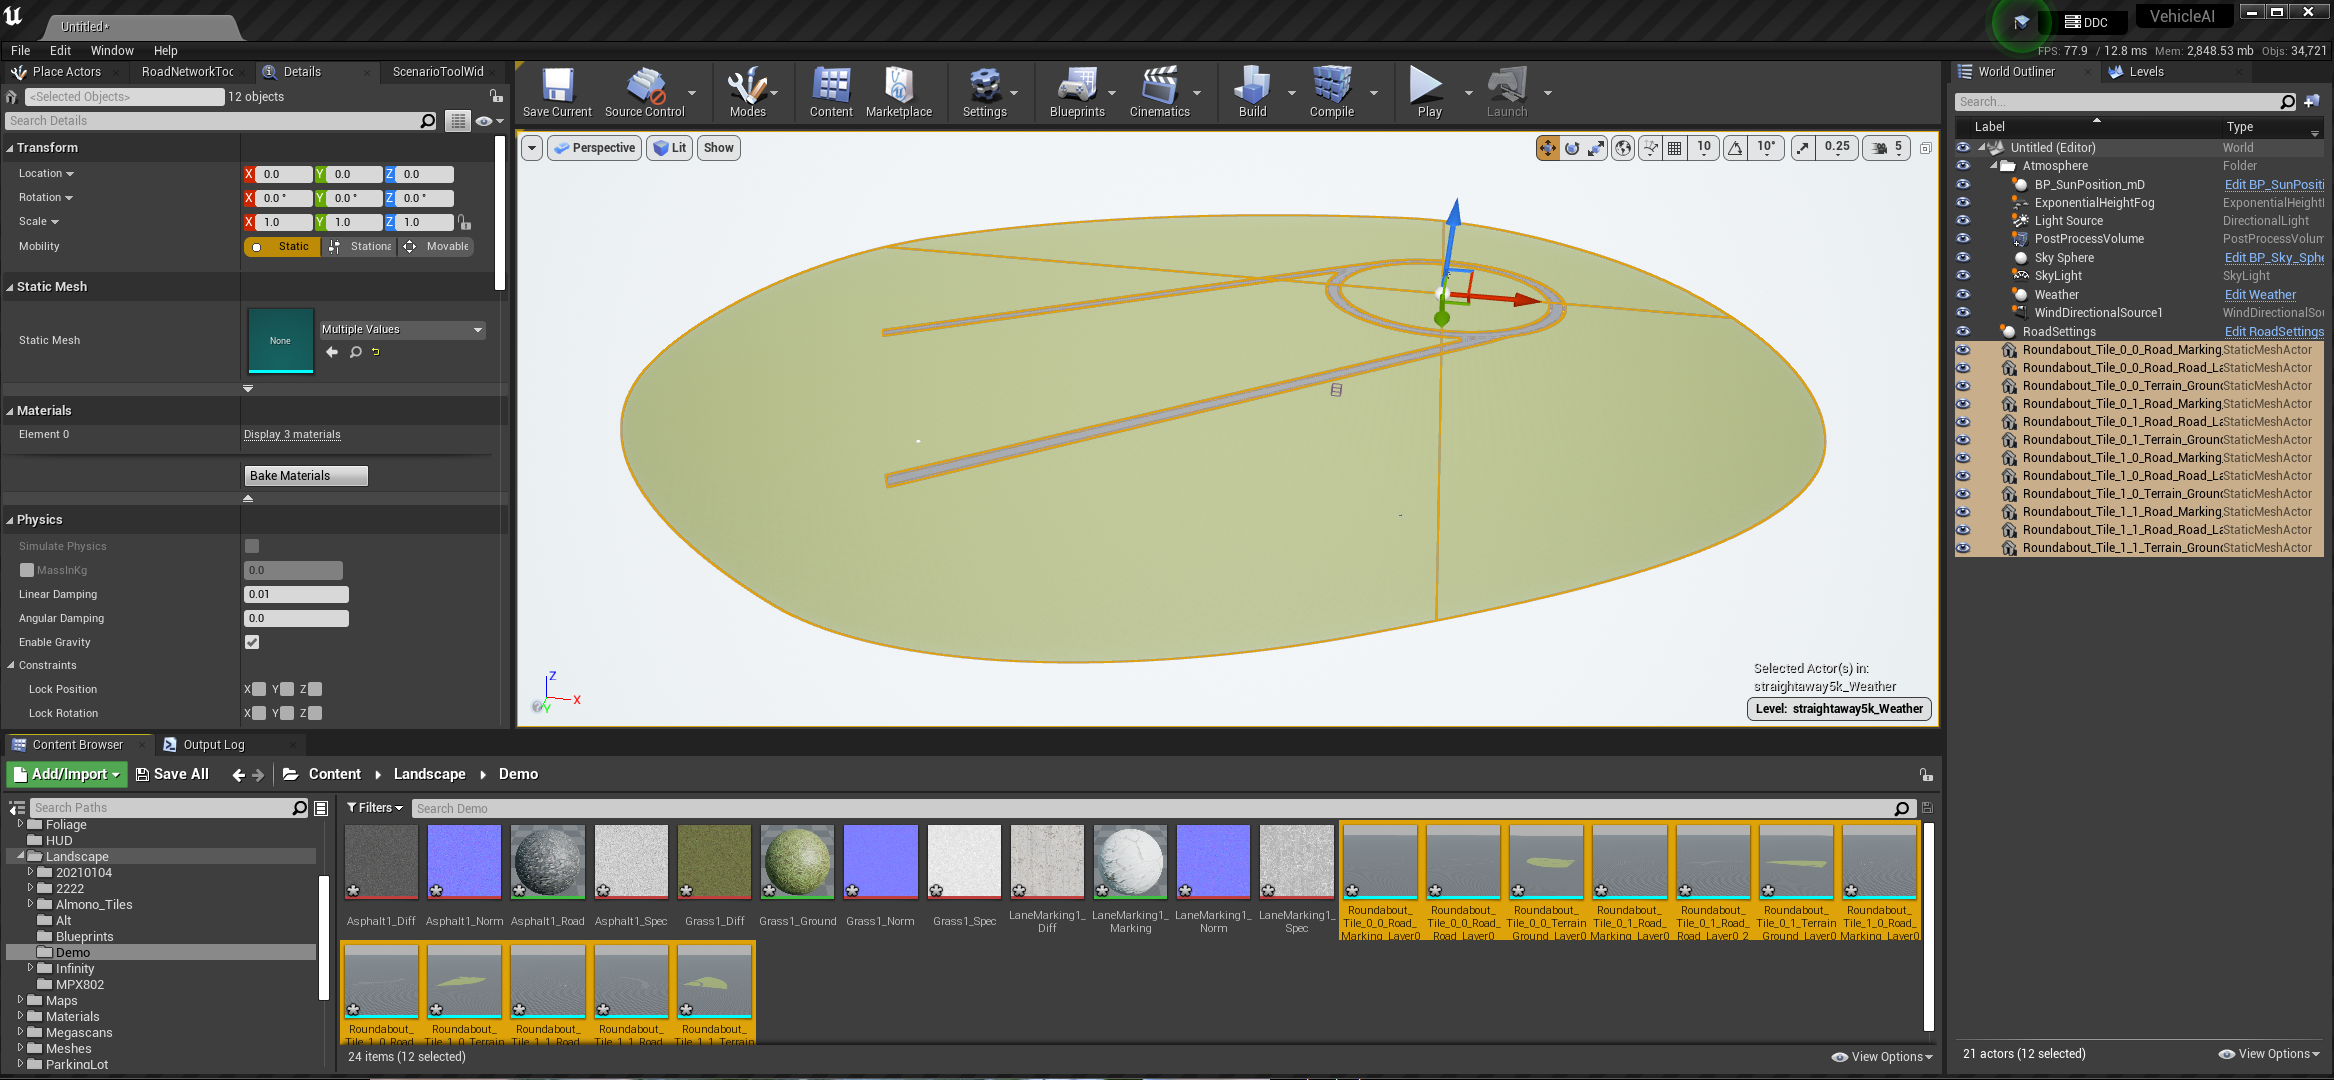
- In the "Transform" Section, navigate to "Location" which has the values for X,Y,Z. Ensure that X,Y,Z values in the Location each have a value of "0"
Asset Collision
- Open one of the assets imported by double clicking on it
- Scroll down or search the "Details" panel for the "Collision" section
- Adjust the "Collision Complexity" so that it reads "Use Complex Collision as Simple"
-
Adjust the "Collision Presets" so that it reads "Road" or "Landscape"
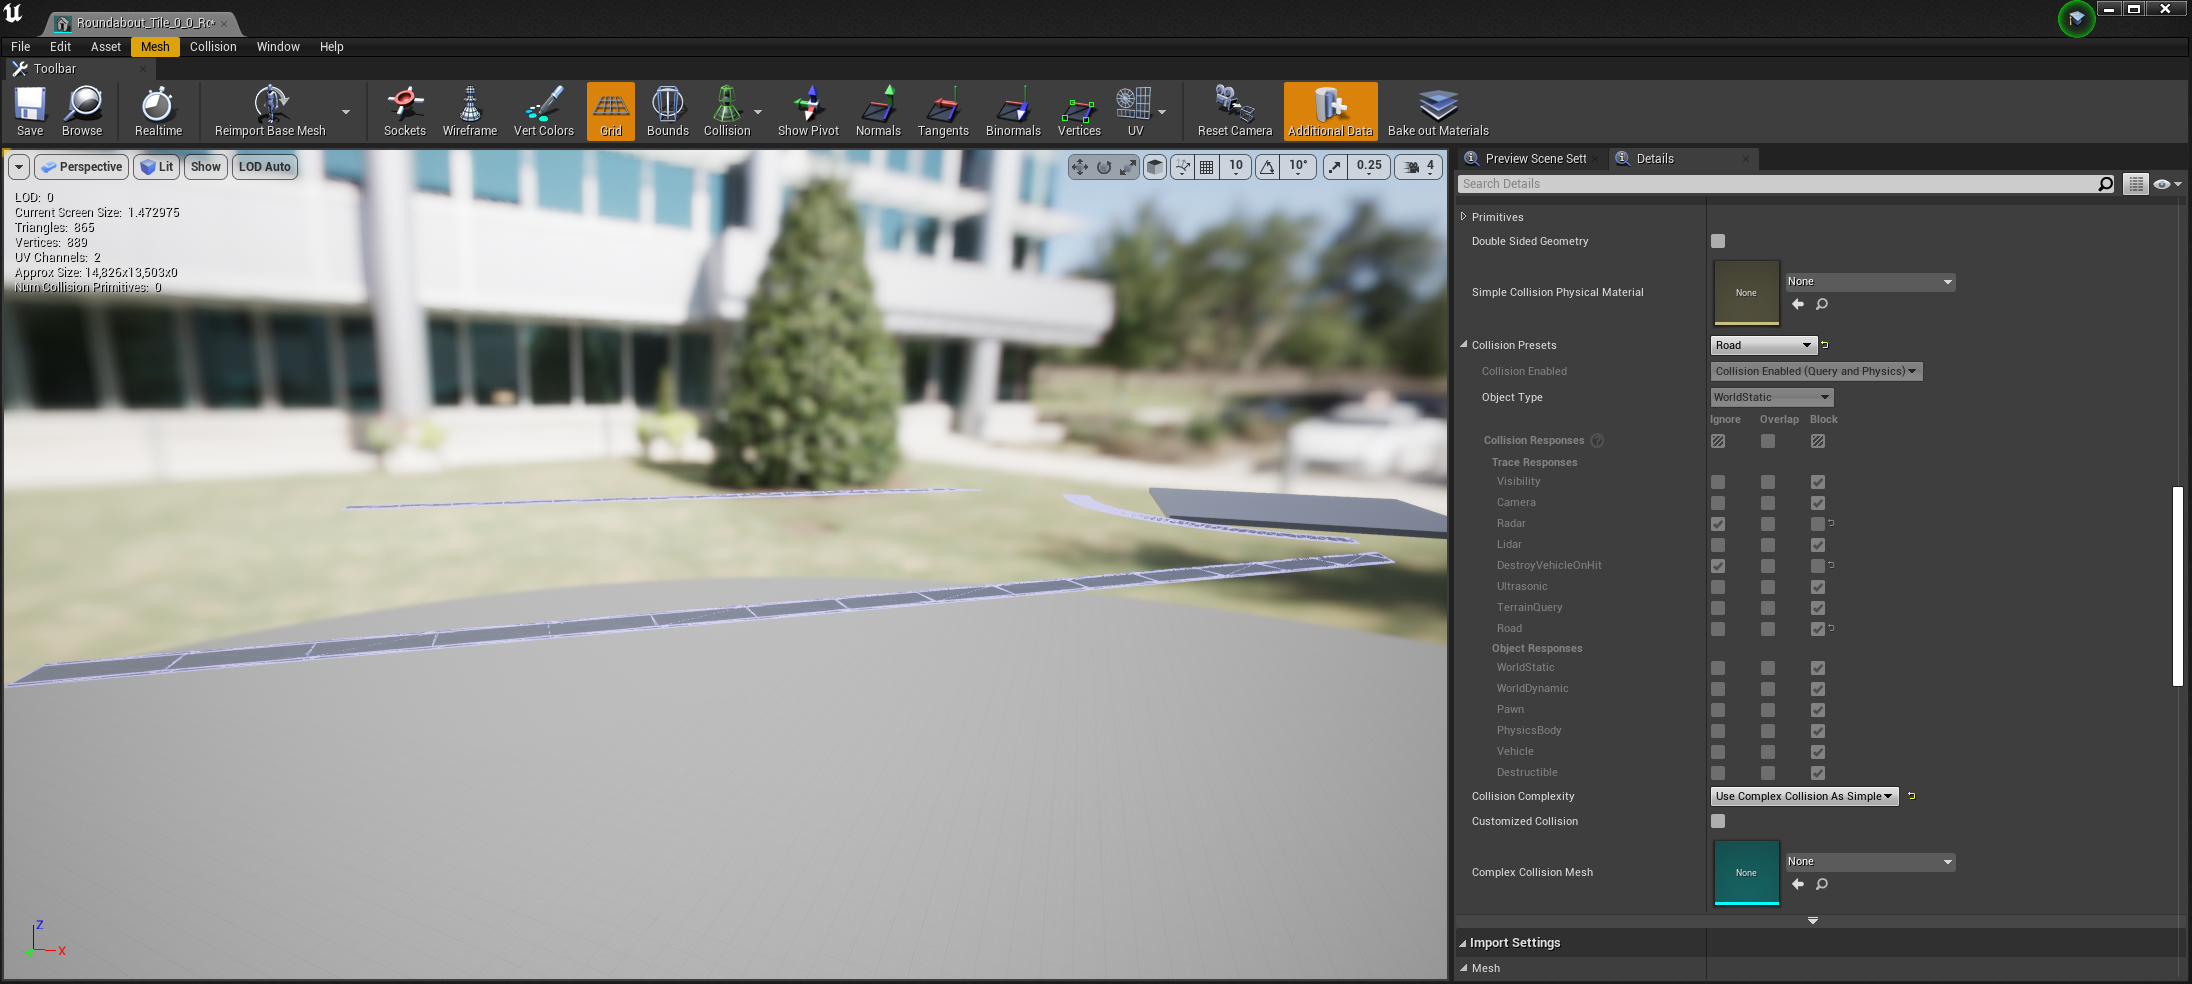
-
Repeat for other imported meshes
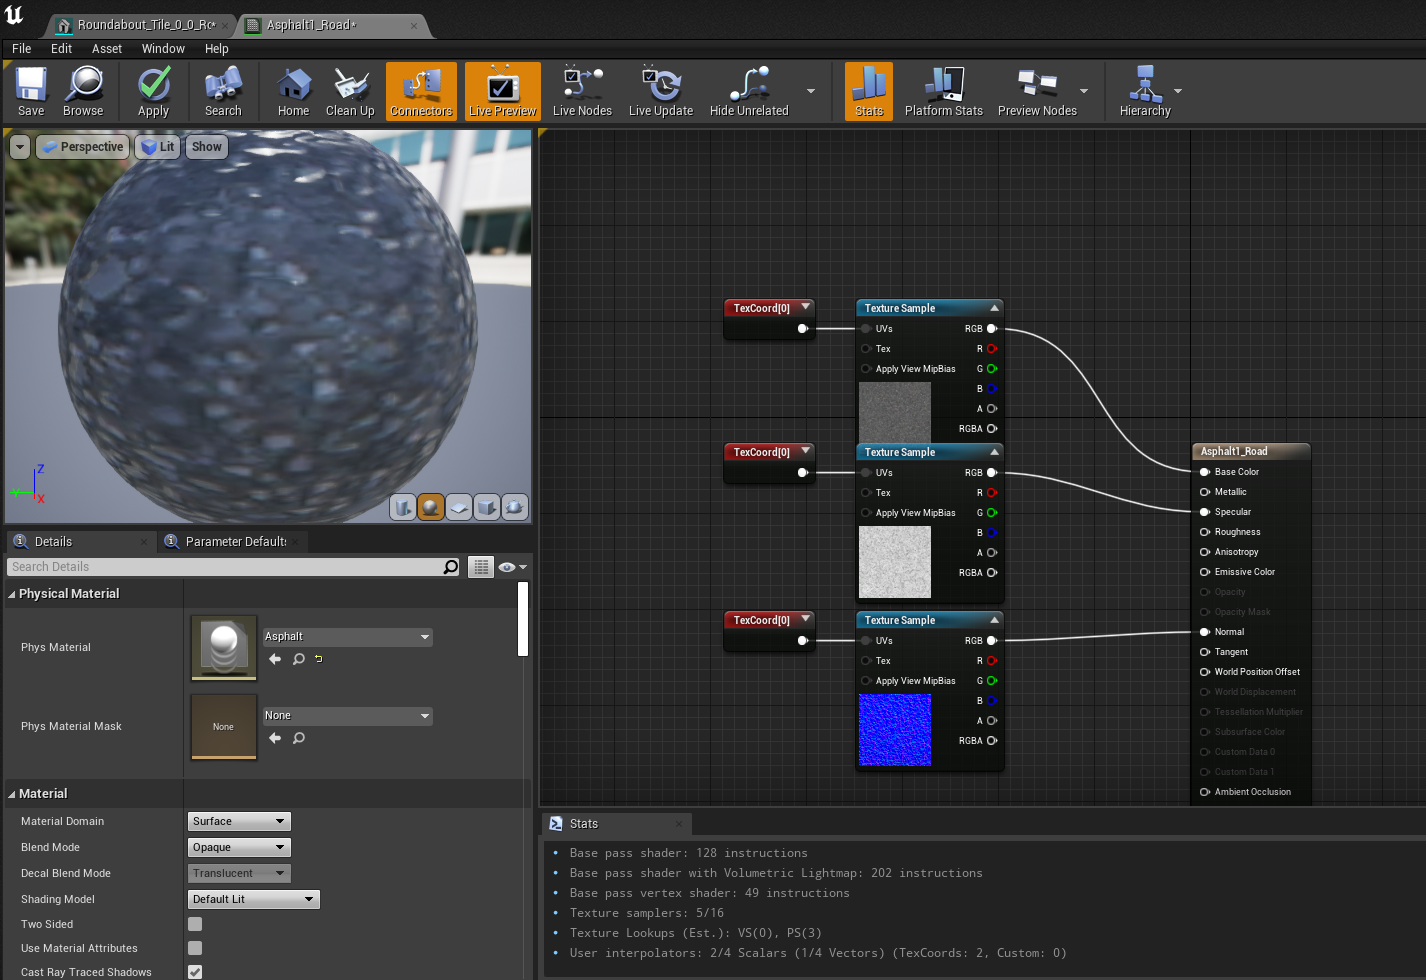
Adjusting Materials to be Sensor Ready
To make any asset viewable to the Radar's "Physical Materials," it must be attached to materials.
- Open any material that needs to be adjusted
- Find the "Details" panel on the left side of the screen
- Find where it says "Phys Material"
- Click on the drop down where it says "None"
- Apply the material that applies most to the material type
Importing OpenDrive
With the road and landscape imported it is time to import the OpenDrive file.
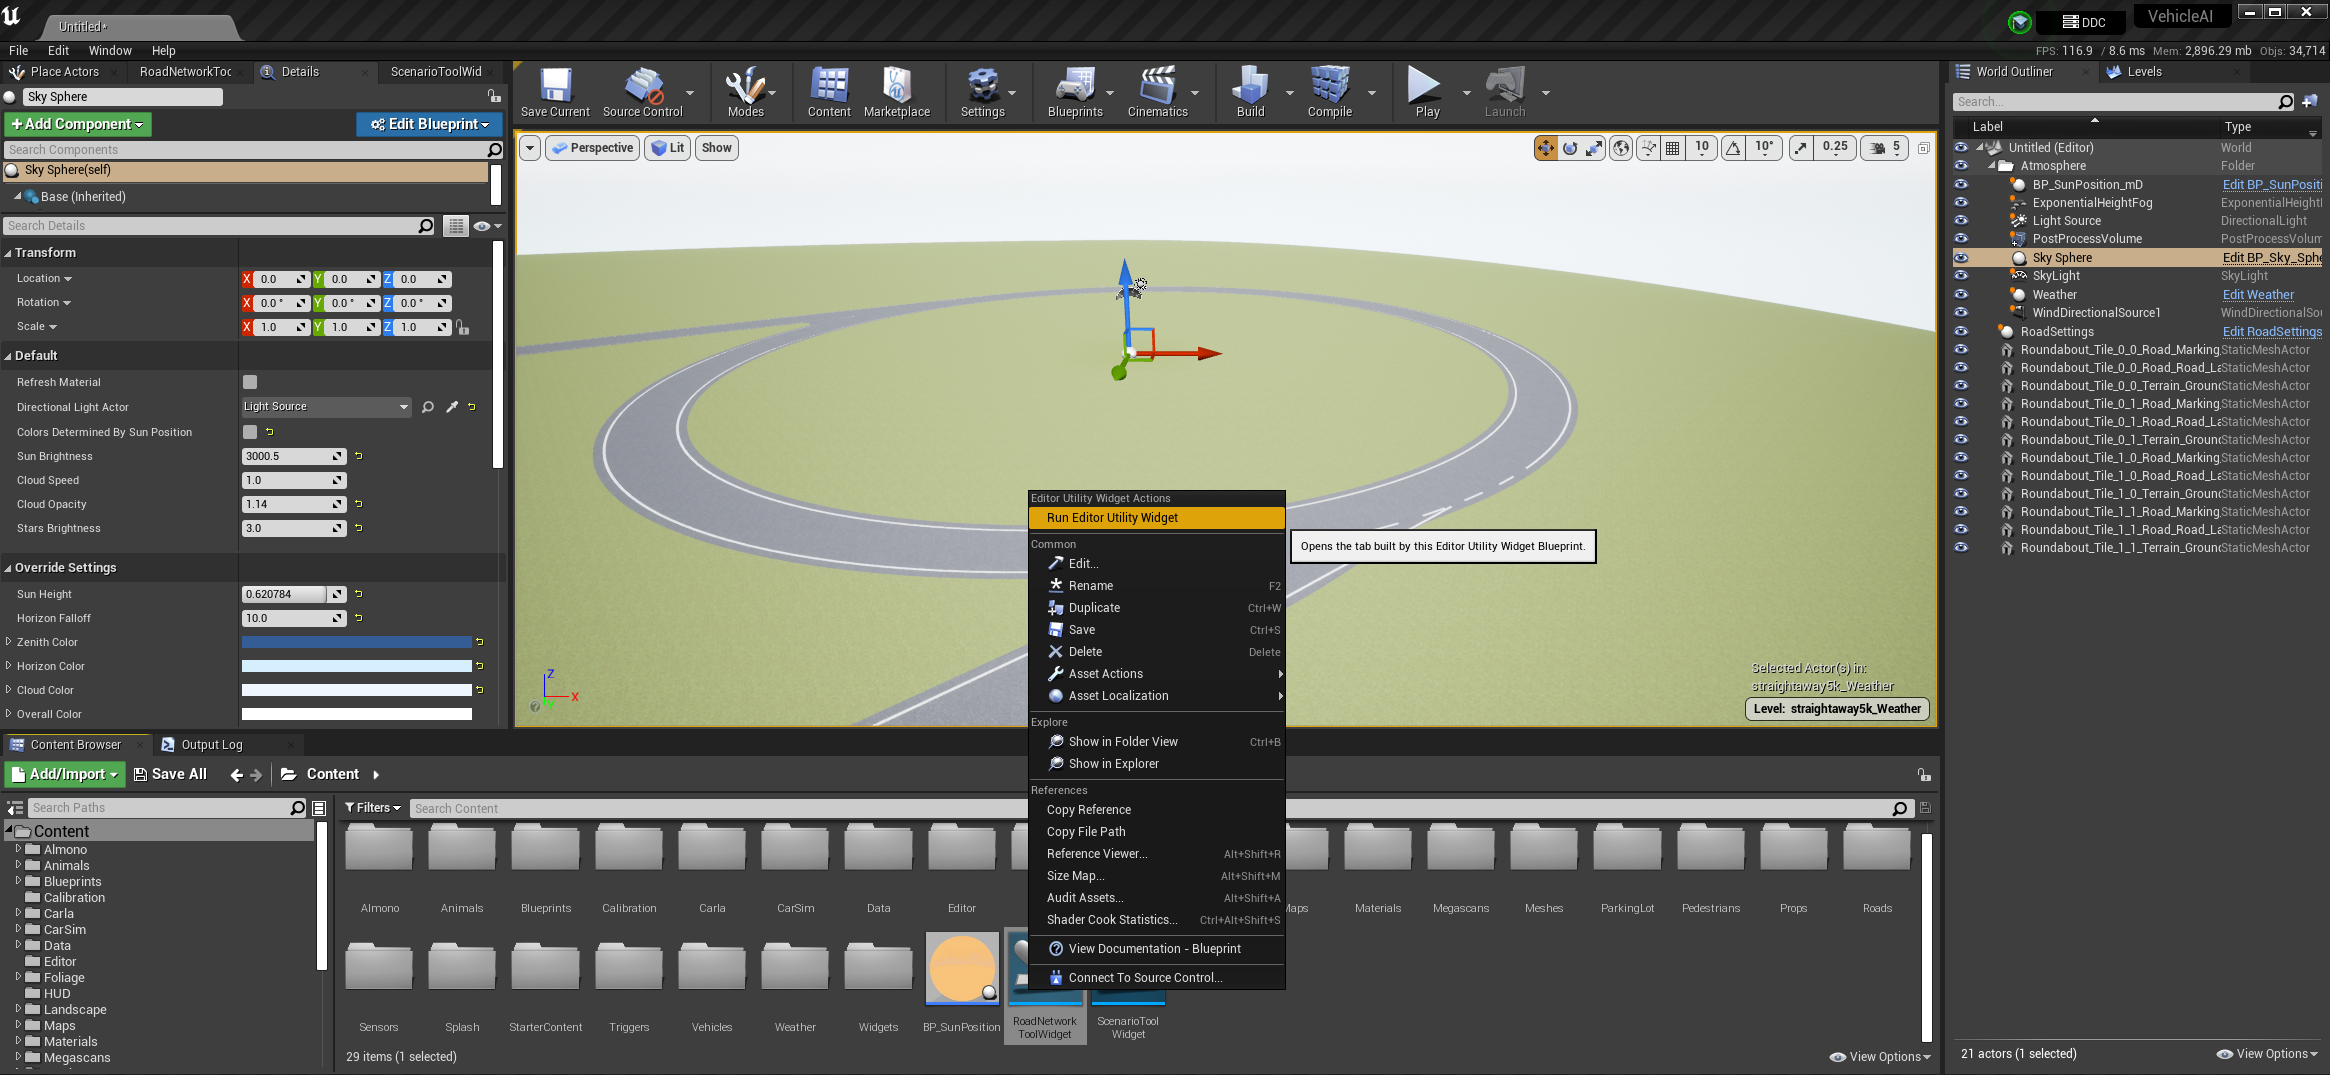
- Go to the top level of the "Content" structure
- Right click on the icon that says "RoadNetworkToolWidget"
- Click on "Run Editor Utility Widget", and the "Road Network Import/Export Tool" window should open.
- A window will open that looks like this
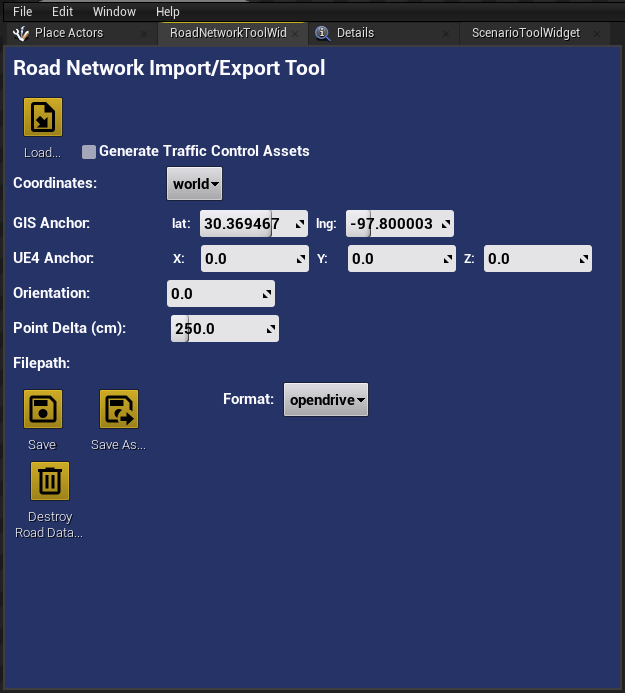
- Click on the "Load" option
- Find the exported Opendrive file from RoadRunner
- Go to the "World Outliner"
- Find the asset named "OpenDriveRoadNetwork", click on it
- Navigate to the "Details" panel
- In the "OpenDrive" section, navigate and click on the button labeled "Generate OpenDRIVE Mesh"
- Click on it.
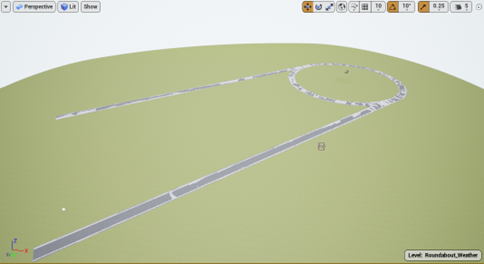
- This confirms that the OpenDrive and the road match up
-
If everything is done correctly, it should look something like this
-
To get rid of the mesh click on "Clear OpenDRIVE Mesh"
Weather
To apply weather to the new level follow these steps.
-
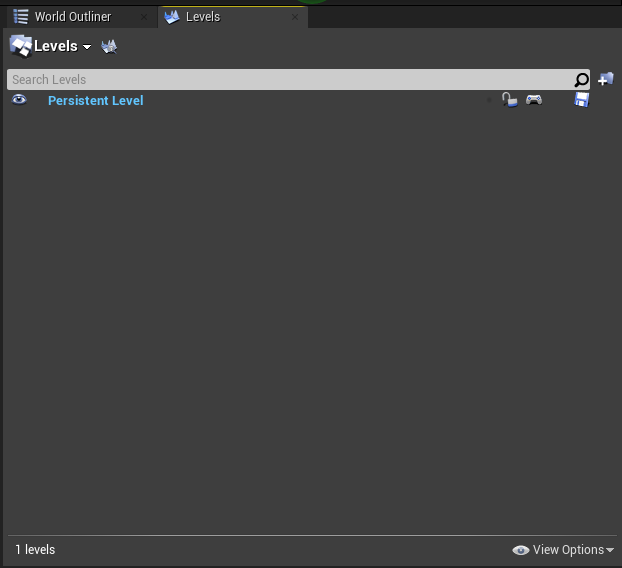
Go to the top left of Unreal and find "Window" → "Levels"
-
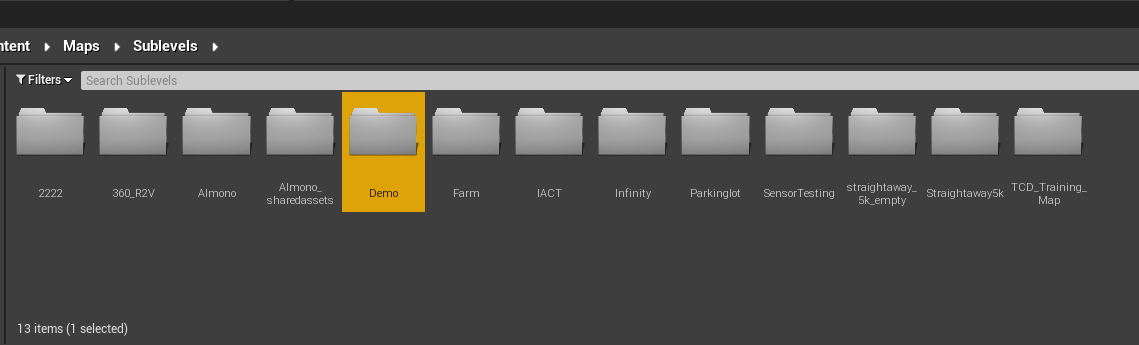
Next, go to the "Content" Browser to the "Maps" → "SubLevels" folder
-
Create a folder with the maps name as the title. For this example, Demo is the name of the new map.
-
As a baseline weather, use a weather sublevel that already exists. Open the "Straightaway5k" directory inside the Maps Directory.
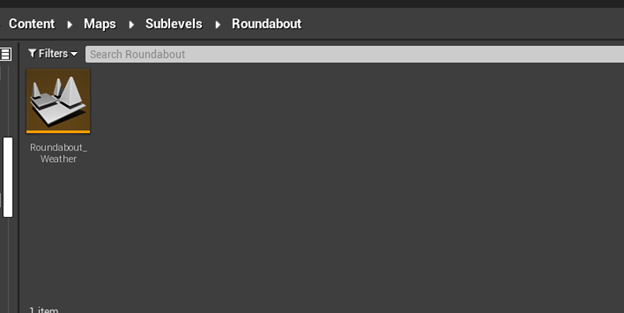
- Copy the "straightaway5k_Weather" sublevel to the levels sublevel folder.
-
Rename the file to "LevelName_Weather", in this example the name of the level is "Roundabout", making the name of the file "Roundabout_Weather"
-
Click and drag the sublevel over to the "Levels" tab opened earlier
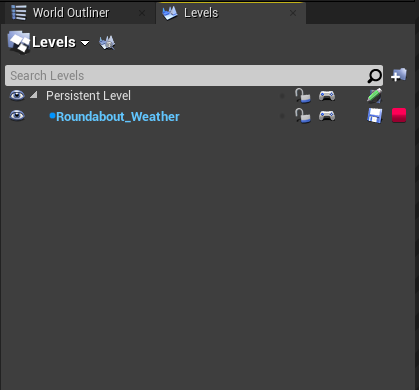
-
Right click on the sublevel and go to "Change Streaming Method" → "Always Loaded"
- This step is required so that when "Play" is clicked the assets in the level will appear.
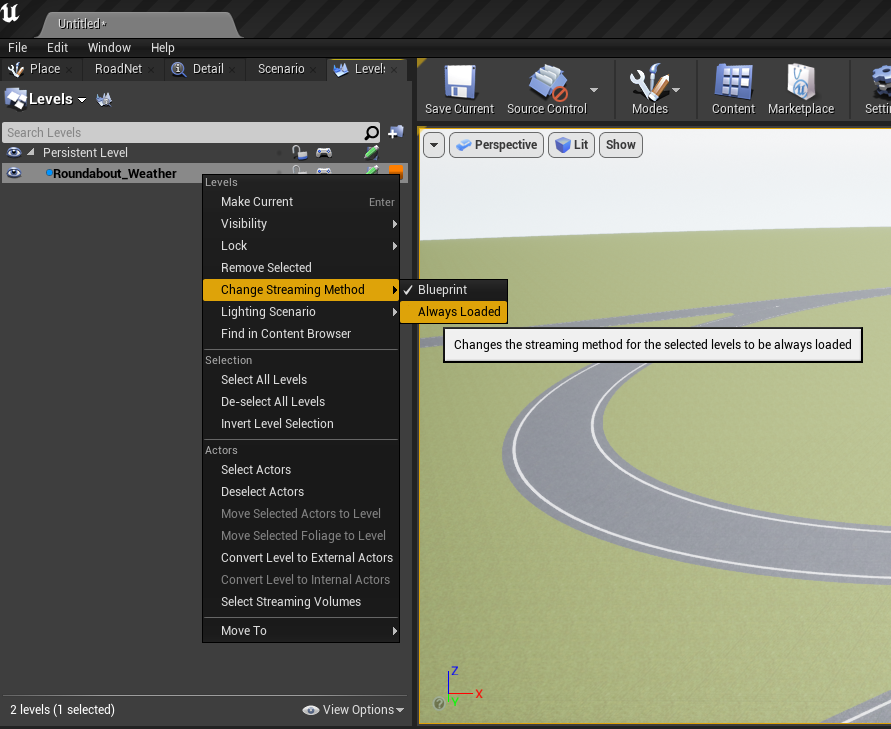
- This step is required so that when "Play" is clicked the assets in the level will appear.
-
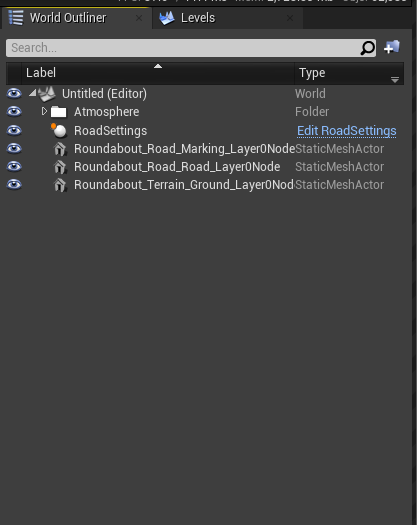
From the "World Outliner"
- Delete anything that is not in the "Atmosphere" folder and/or is not an Imported asset.
- Once done, it should look something like this
Static Assets
This section outlines how to add static assets to the map environment.
Placing Road Signs
When placing road signs, note that all of the signs in the Content → Meshes → Signs Folder are mesh templates. Also, all of the sign materials in the Content → Materials → Signs Folder will match with their corresponding names.
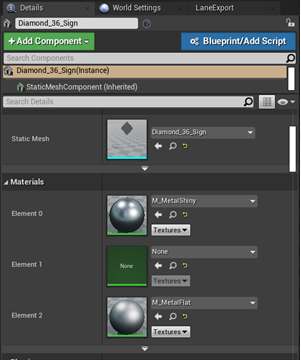
- Click and Drag a sign from the "Content" browser into the viewport, for example, "Diamond_36_Sign"
-
In the details panel → Materials there will be an empty "Element" slot
-
Navigate to the "Content" → "Materials" → "Signs Folder", pick the appropriate sign shape folder, for this example, "Diamond_Signs", and open the folder
- Navigate to the desired material for the selected sign. Click and drag or move the material into the empty "Element Slot."
- To find a short video on this subject click here to go to the monoDrive read the docs section about it.
Setting Custom Depth Stencil Values
Adding a Custom Depth Stencil Value will allow the semantic camera to view an object, without a value an object with be invisible to the camera.
Application
- As stated above, place a static mesh into the scene
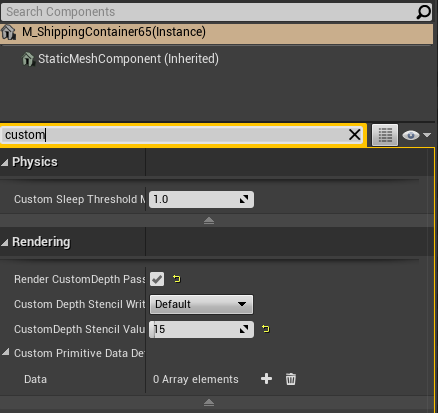
- With the mesh selected, locate the "Details" panel
- Type "custom" into the search bar
- Check the box next to the label "Render CustomDepth Pass"
- Fill in the "Custom Depth Stencil Value" that matches the static mesh the closest. Below is a link that provides possible values for this static mesh.
Setting up Collision for Static Meshes
Adding or modifying collision will allow vehicles to drive correctly and accurately in an environment. Having correct collision is also important for Radar, without collision an object will be invisible to radar.
Application
-
Open up a static mesh
-
There should be a green box around the static mesh
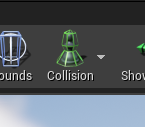
- If not, look in the top right of the screen and find "Collision" drop down menu
- Try any of the collision options, a good starter is the box collision
- In the "Details" panel on the right
- Search collision
- Set the "Collision Presets"
- Select the preset that matches the object the best
- For most static meshes the "BlockAll" option is best, but try and match it as best as possible, .i.e "landscape", "road", etc.
- For any landscape static meshes select the "Landscape" option
Spline Assets
Placing Mesh Splines
- In the "Details" panel on the right
- Find the blueprint called "Spline_Actor"
-
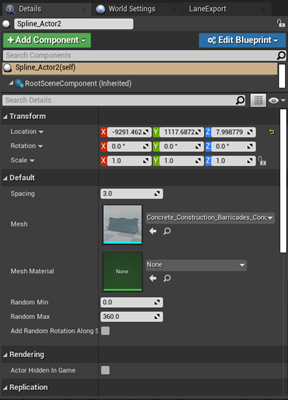
Drag the blueprint into the viewport. This should have the "concrete barrier" asset assigned to the Mesh slot by default.
-
There will be two spline points near the "concrete barrier"
- Click and drag the spline point with the "Translate", "Rotate" or "Scale tool" to adjust the spline mesh as big or as small as needed.
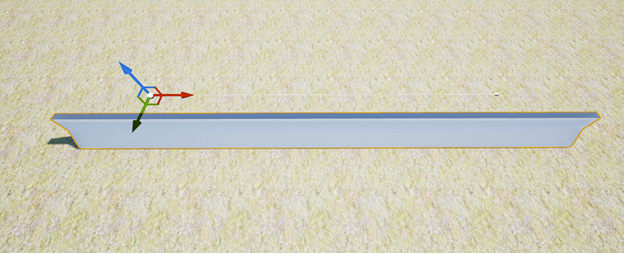
- Click and drag the spline point with the "Translate", "Rotate" or "Scale tool" to adjust the spline mesh as big or as small as needed.
-
Replace the "concrete barrier" asset with any static mesh
- The Mesh slot is located in the Detail Panel
- Use the flowing assets like the concrete barrier/guardrails or repeatable individual assets, i.e. street lights/Light posts.
-
Now adjust the "Spacing" value in the details panel
- Whether adjusting a flowing asset or a repeatable asset, the "Spacing" value can vary greatly.
- In addition, the larger the "Spacing" value the more space apart the asset will be
- "Flowing" assets are 200-600
- "Repeatable" assets are 2000-5000
- Mesh Splines video example
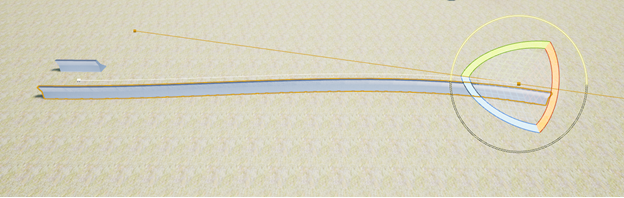
Spline Curving
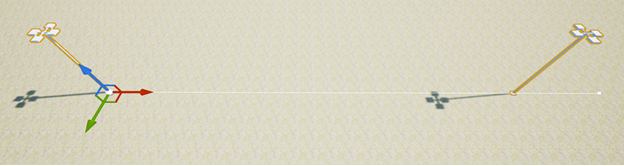
- When needing to curve the spline asset do the following, double click on either of the 2 original spline points with the rotation tool selected. Two "arms" will display themselves, and now will be in the proper mode to adjust the spline.
-
Now use the rotate tool to curve the spline
-
For more complex curves, right click on the spline itself and click "Add Spline Point Here"
- As before, double click on the spline point
- Use the "Translate" and "Rotate" tool to adjust the spline into the position required.
- Spline Curving video example
Foliage Assets
Painting Trees & Foliage Setup
-
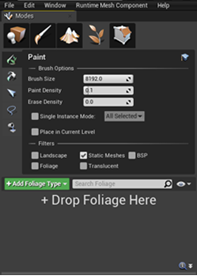
To paint foliage into the scene you must go to the "Foliage" mode located in the top left corner of Unreal Engine.
-
To add foliage to the "Foliage" Painter tool, navigate to the foliage content. For example, Content → Foliage → Trees → RedMaple
- If the foliage actor already exists, indicated by the green line at the bottom of the asset drag it into the "Drop Foliage Here" section as seen in the image above.
- If the foliage actor is missing or not present, click and drag your static mesh into the "Drop Foliage Here" section and Unreal will create one for you.

-
To enable or disable painting of any foliage actor, hover the mouse over the new foliage actor and check the empty box and select the tree.
- To find a short video on this subject click here to go to the monoDrive read the docs section about it.
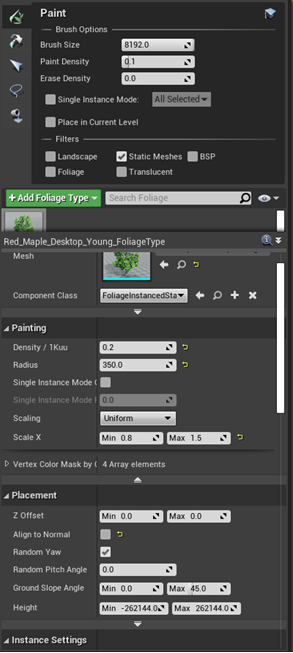
Adjusting the Foliage Settings
Before starting to paint foliage in an environment, the foliage brush must be adjusted to the foliage density needed.
A good starting point for trees would be something like this
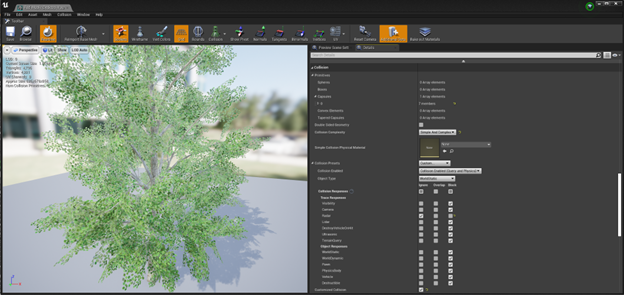
Setting Collision for Trees
- Navigate to the static mesh of the tree
- Navigate in the "Details" panel" to the "Collision" section
- Find the option "Collision Complexity" and then set the "Collision Complexity" to "Simple and Complex"
- Next, change the "Collision Presets" to "Custom"
- Set "Radar" to "Ignore" and then set all the other settings to "Block"
- Here is an example of the correct settings
Setting Collision for Grasses and Bushes
-
Foliage actors such as small bushes, grasses and other small foliage's collision setting example
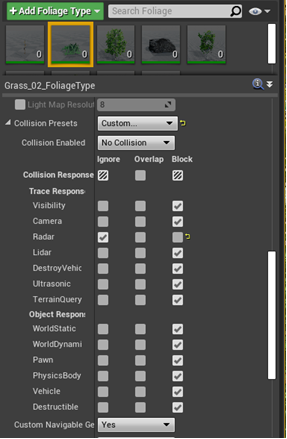
-
Foliage actors such as large bushes, boulders and trees collision setting example

Setting the Physical Materials for Foliage
Ensures that foliage is visible to the Radar.
- Navigate to the materials for the tree, open the various materials
- In the materials "Details" panel navigate to the "Physics Materials" section
- Click the drop down menu
- Select the "Tree" physical material or the physical material that matches best to the object.
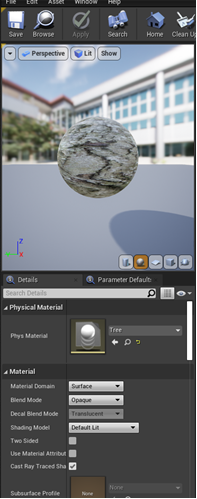
- Select the "Tree" physical material or the physical material that matches best to the object.