RoadRunner Example Pipeline
This is a guide for creating roads in RoadRunner and how to export them in preparation for Unreal Engine. Please note that Roadrunner uses meters as its base measurement scale, and that it is suggested to import a vehicle for help with scaling in the scene.
Road Creation Basics
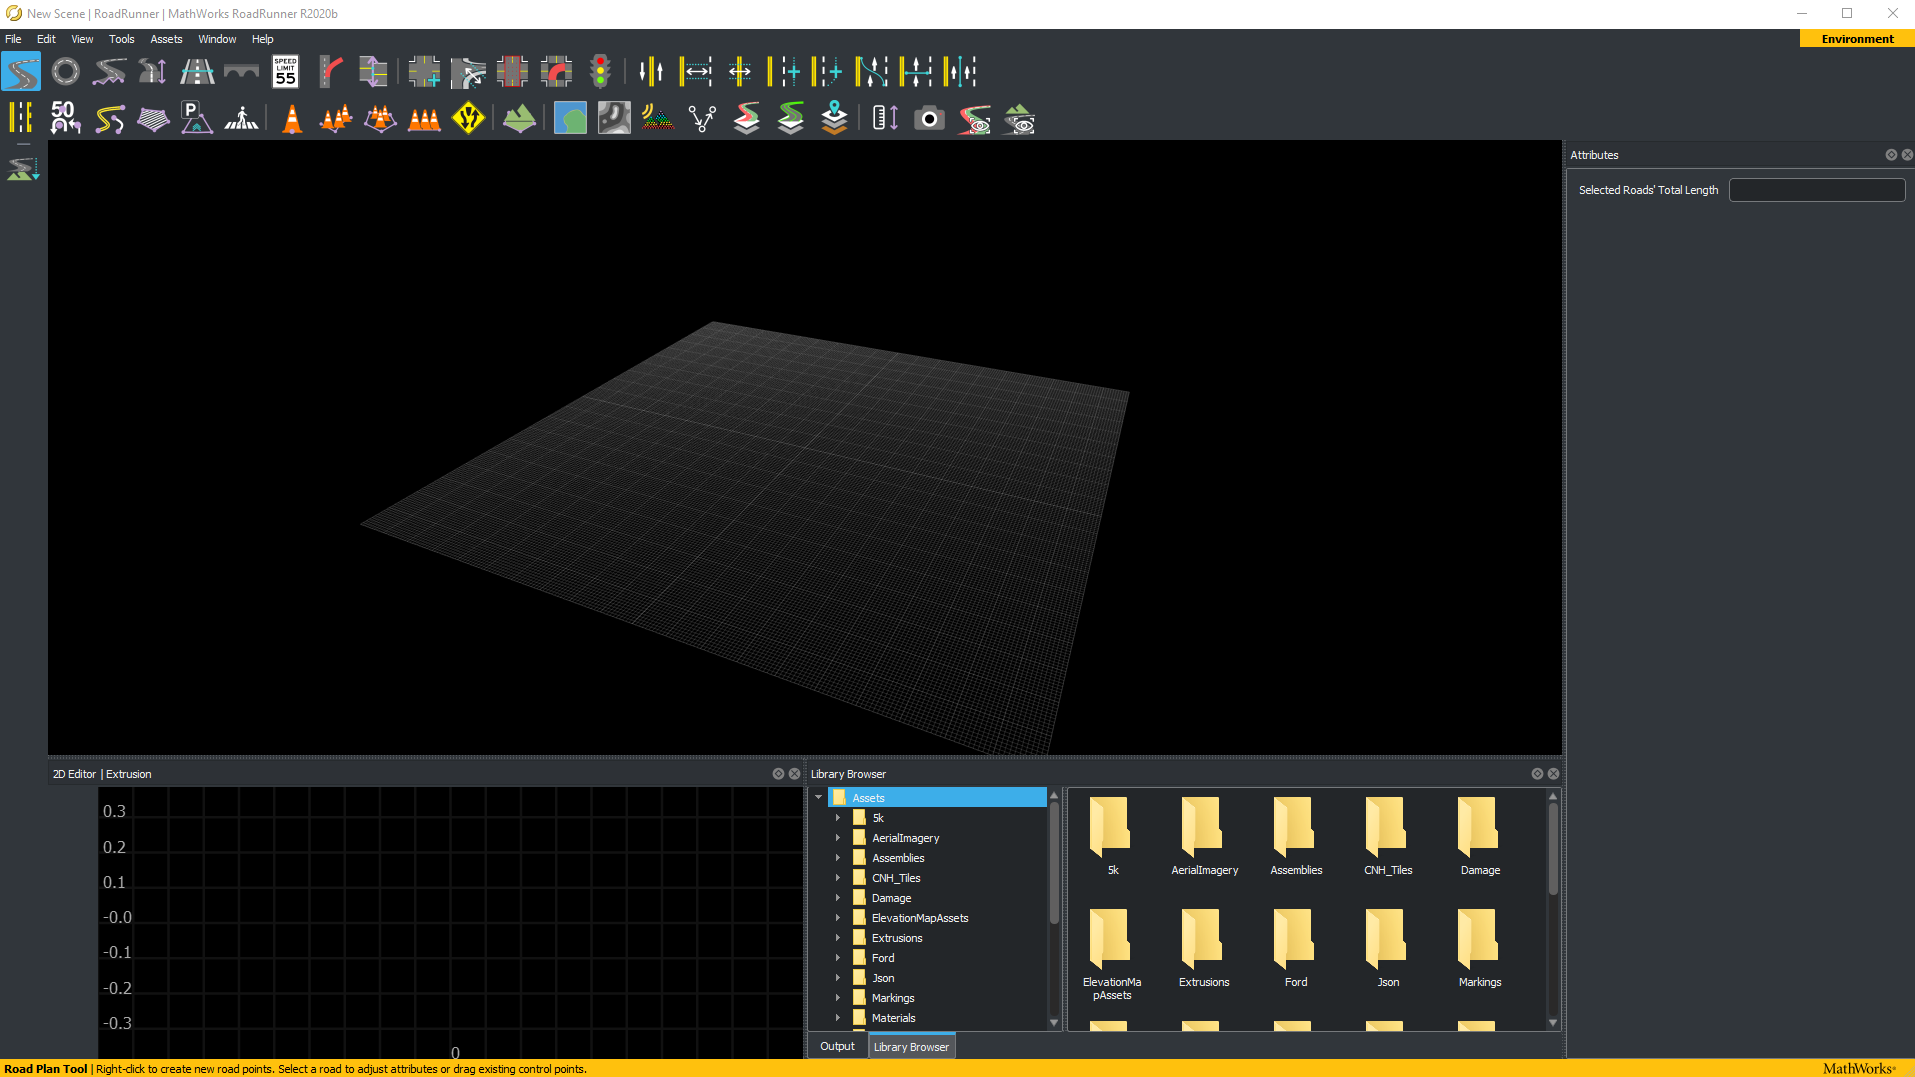
- Open RoadRunner and create a new scene/map
-
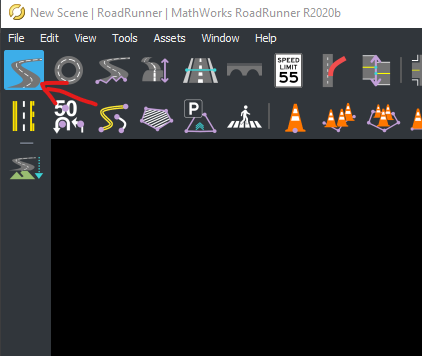
Select the "Road Plan Tool" icon located in the top left
-
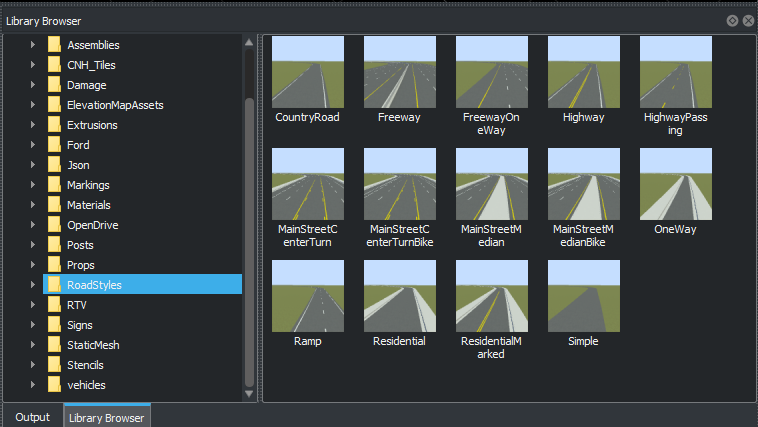
Navigate to the "Library Browser" in the bottom right
- Navigate to the folder labeled "Road Styles"
- Select road type
-
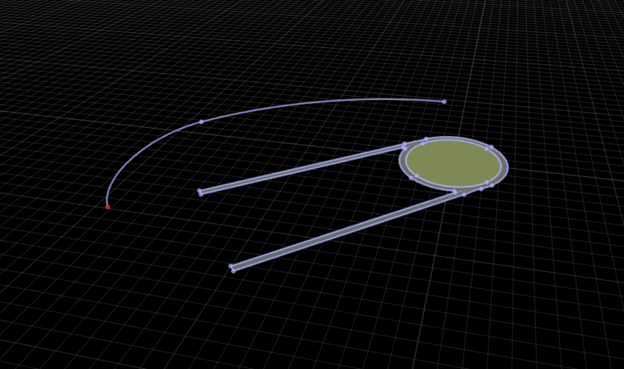
Now right click on the grid, this will create a red dot
- When right clicking again in another location within the screen space, this will create the basic road.
Create a Landscape
-
With the road drawn, create a landscape around the road.
-
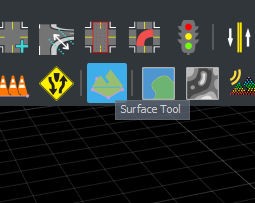
Select the "Surface Tool"
-
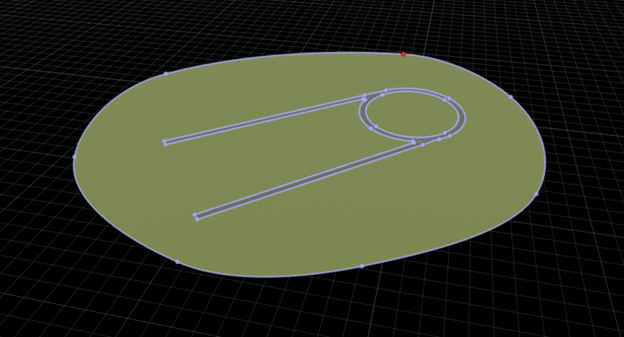
In the screen gridded space, right click on the outside of where the road is located.
-
Make adjustments as needed by clicking on the dots
-
Continue adding dots to create a circle until you reach the original dot that was placed, this will create a landscape around the road.
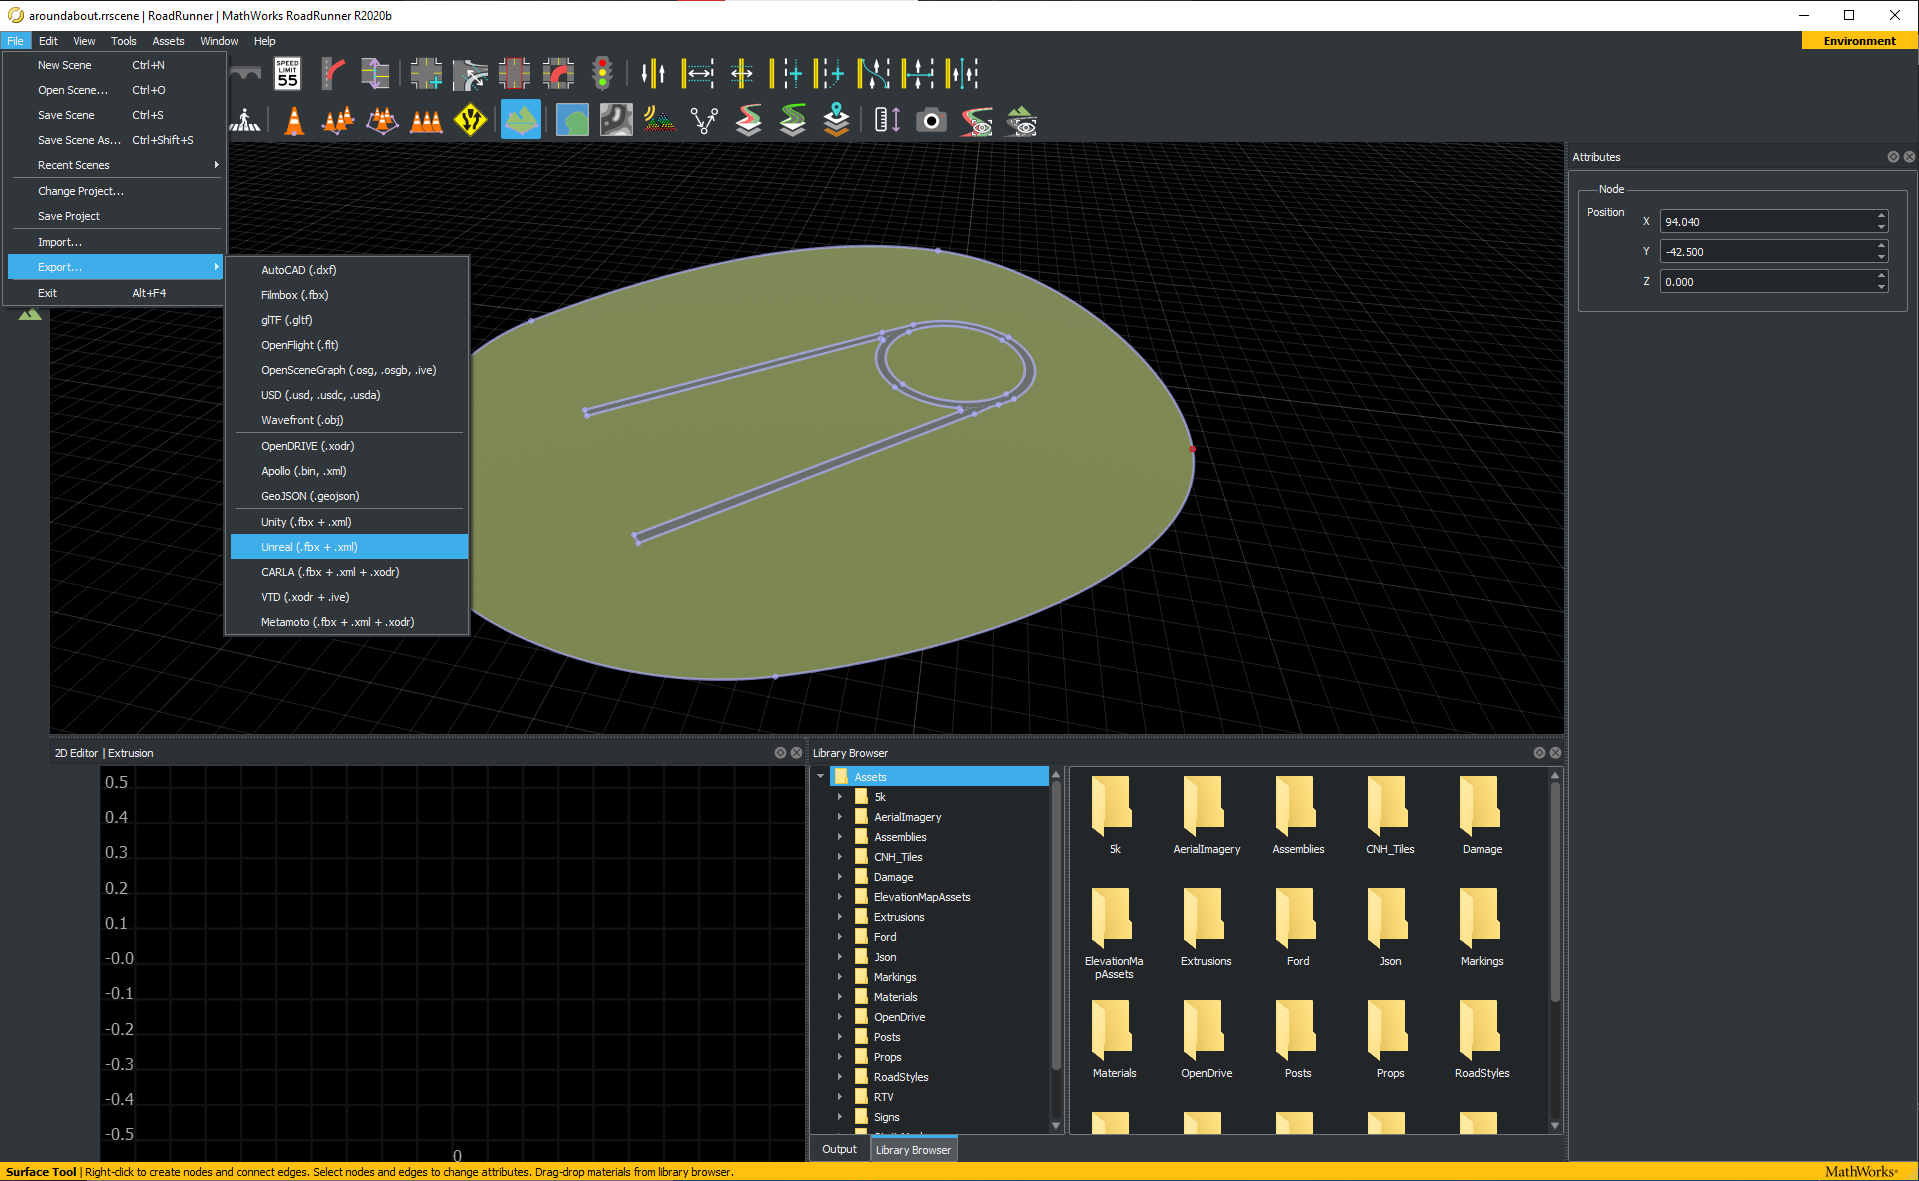
Export to Unreal Engine
-
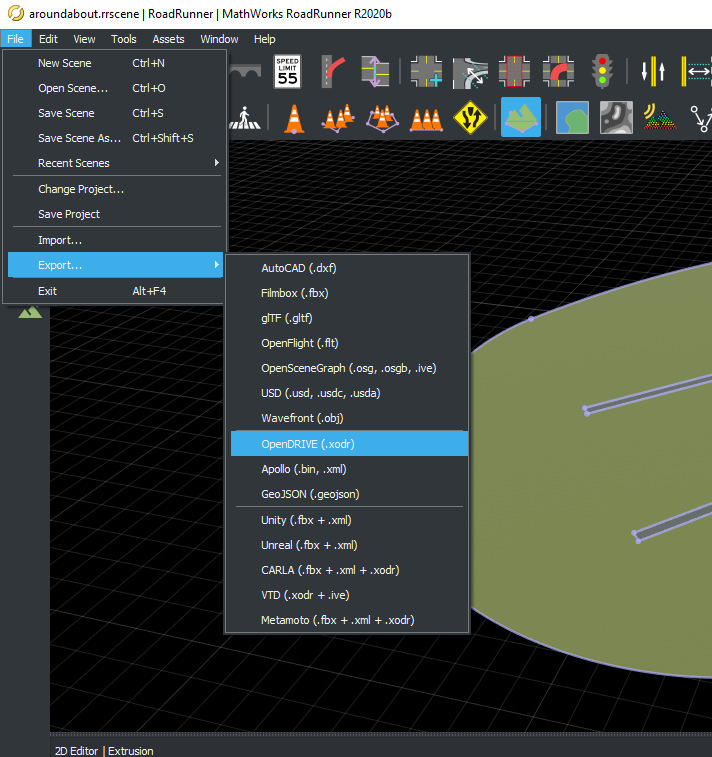
Start the export process by navigating to "File" → "Export" → "Unreal"
-
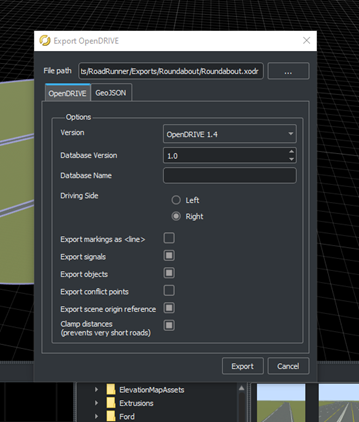
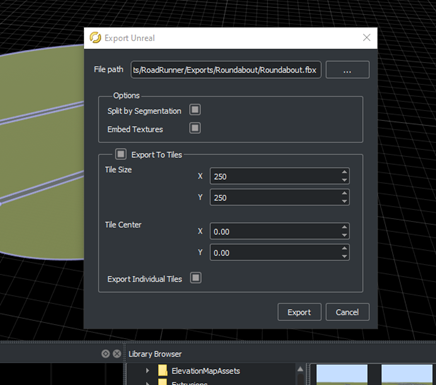
Click on "Unreal", another window will pop up
- Navigate a place to save the created roads, it is recommended to create a new folder
- The default setting for exporting .fbx files should be adequate.
- Once all adjustments are made, click "Export"
-
For the vehicles to be drivable in Unreal Engine, export the OpenDrive file. Go to "File" → "Export" → "OpenDrive"
- Select the same location of the "Unreal" export
- Click "Export"